Starting to build a sensory “room” can be a daunting task...what should the purpose of the space be? Which items will be most impactful? We know there are a lot of choices to consider, so we put together a step-by-step building guide that won’t break the bank - for both classroom and at-home settings!
Step One:What is the goal of your sensory space?
Sensory rooms can be used for education, therapy, focusing, calming, exploring, stimulating and many other tailored experiences! When considering your purpose, first ask detailed questions about who will be using the space. Is it for just one child or will it be shared by many? Are the kids using the space over or under sensitive to stimulation? Will the space be used to prepare for focused tasks or after focused tasks for calming down? These questions will help you decide what the overarching goal of your space is, and what items will be best to achieve those goals!

Step Two: Choose Your Setting
Sensory “rooms” don’t have to be rooms at all! You can build a sensory space out of a corner in your living room or classroom, an extra closet, a designated area of your child’s bedroom and many other nooks around the house and elsewhere! Get creative and figure out where is best in your environment to carve out a space that feels slightly separate from the rest of the room. That change in the feeling of the setting can help kids to decompress and feel more inclined to explore and play!
Step Three: Start with seating
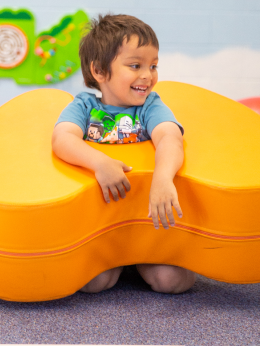
Seating will most likely be the largest item in your sensory space, so it’s best to start with the big stuff and work your way down. Depending on the goals and size of your room there are many options to choose from. Bean bag chairs, sensory swings, yoga balls, rockers and wiggle cushions all provide a stimulating way to sit down that can be used to focus and decompress.


Comments